1. Getting Started
1.1. Purpose
The purpose of this chapter is to understand the most basic functionalities of the Geospatial Microplanning Toolkit (GMT). No previous knowledge of this application is required.
Note: “clicking” in this guide can be substituted by “tapping” as well - for instance if you are working on a tablet.
1.2. Access GMT
For training (to get familiar with the application), in a browser, ideally Google Chrome, navigate to
https://nga-training.gmt.health/
Note that this is the URL to do only the training.
For the field activity, the URL is
You should see the following:
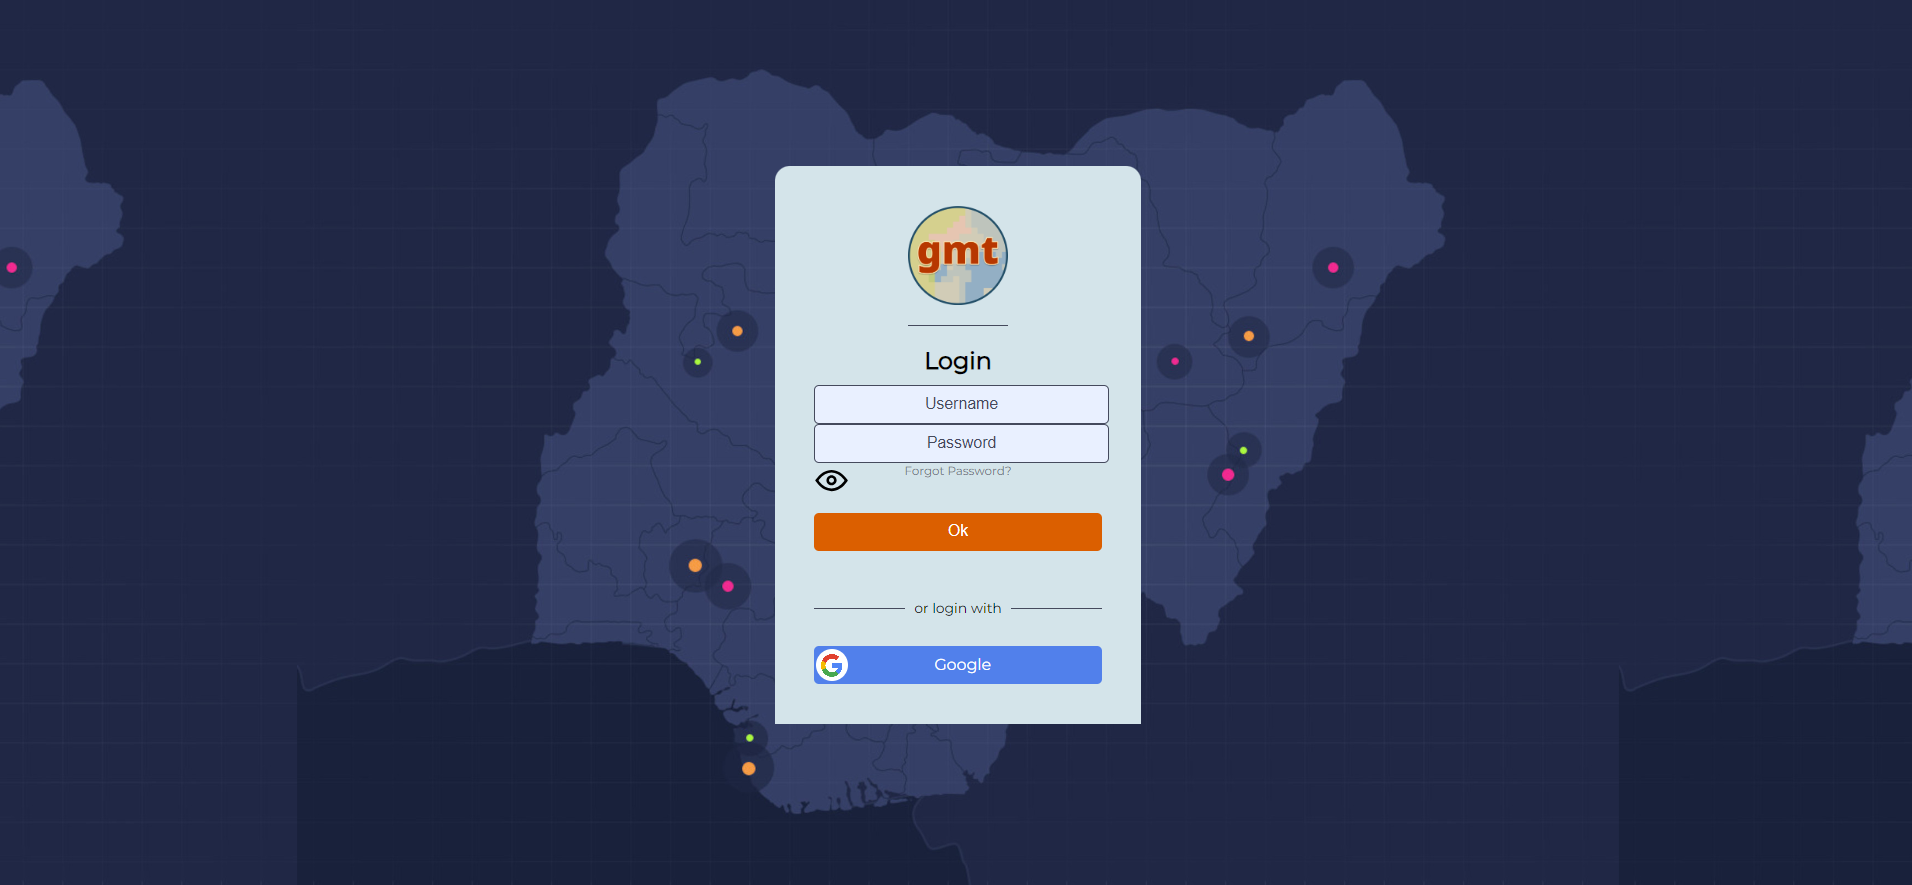
1.3. Login / Access to data
Provide your credentials here.
Note
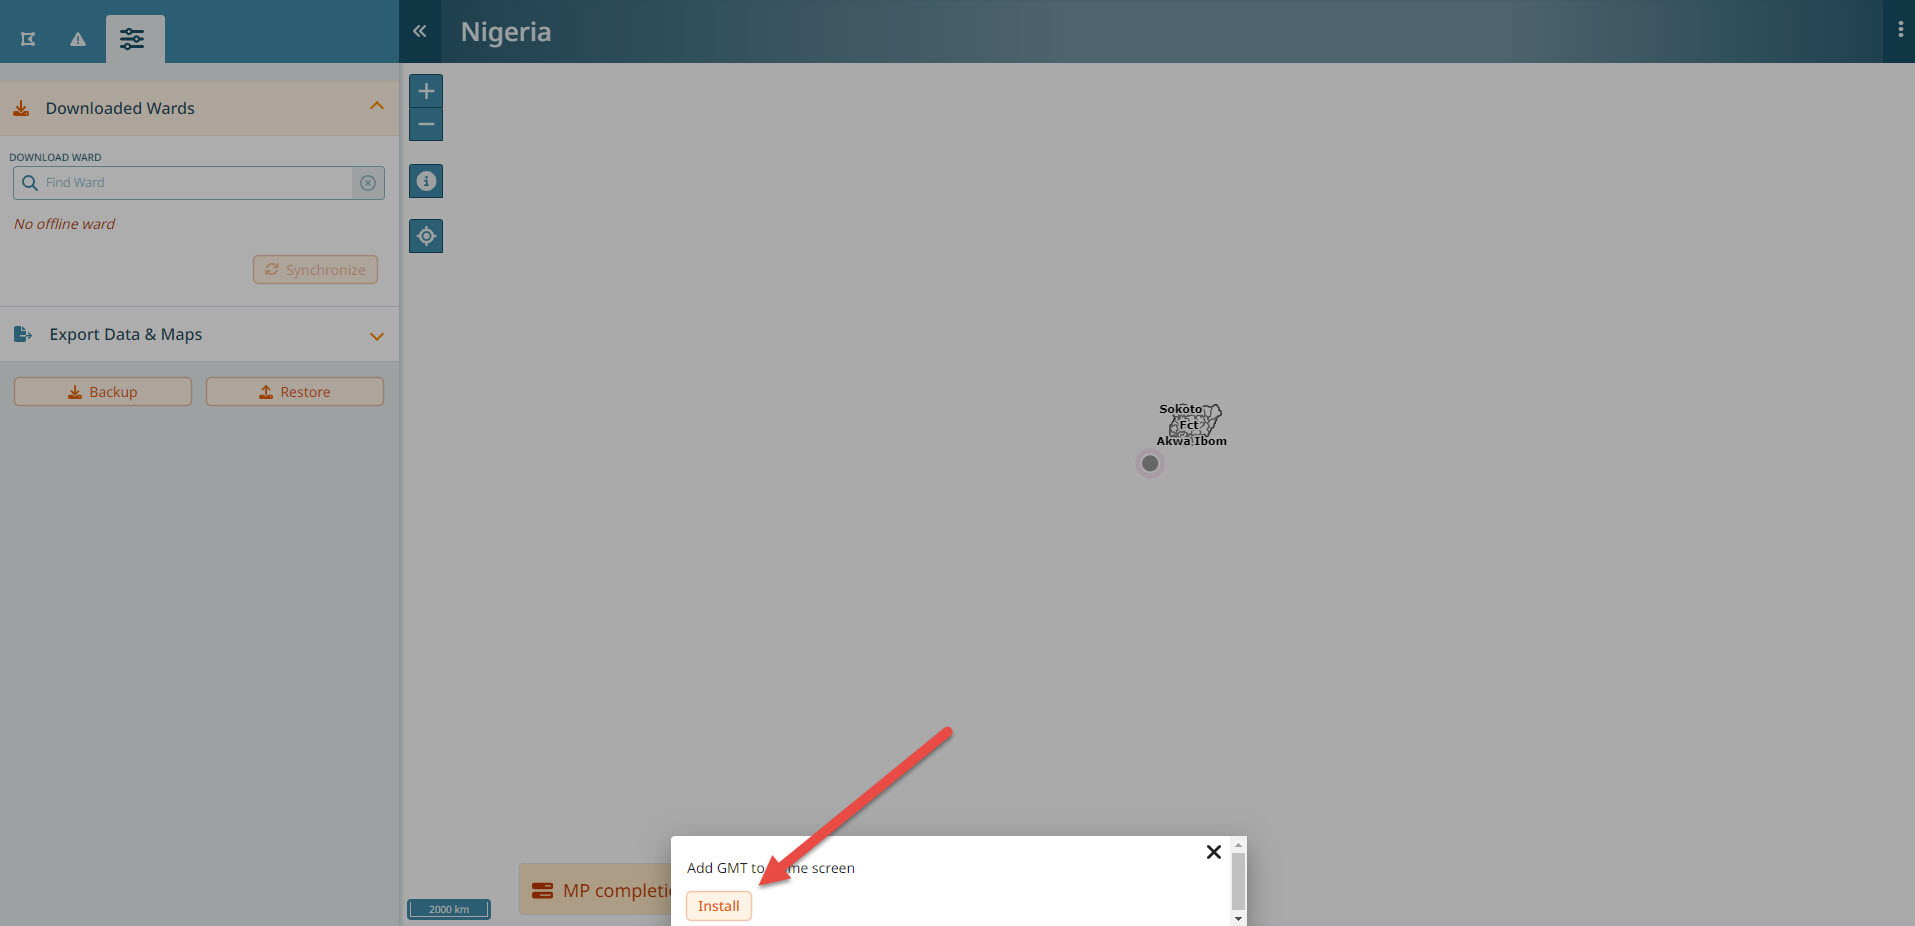
For an enhanced user experience or if you are working on a tablet, you should be installing the application.
Follow the steps shown below to do so:
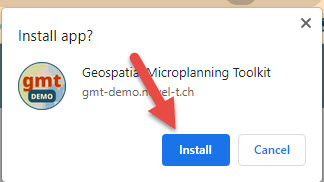
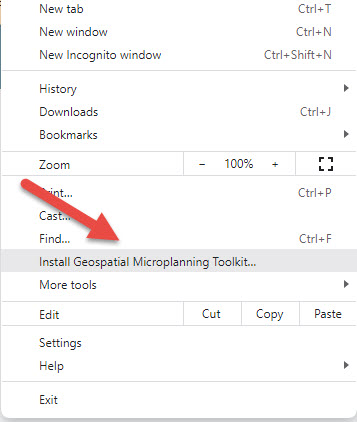
If you closed the dialog without clicking on install, you can alternatively use the 3-dot menu in Google Chrome. Click on it and select “Cast, Save, Share”, then “Install App”.
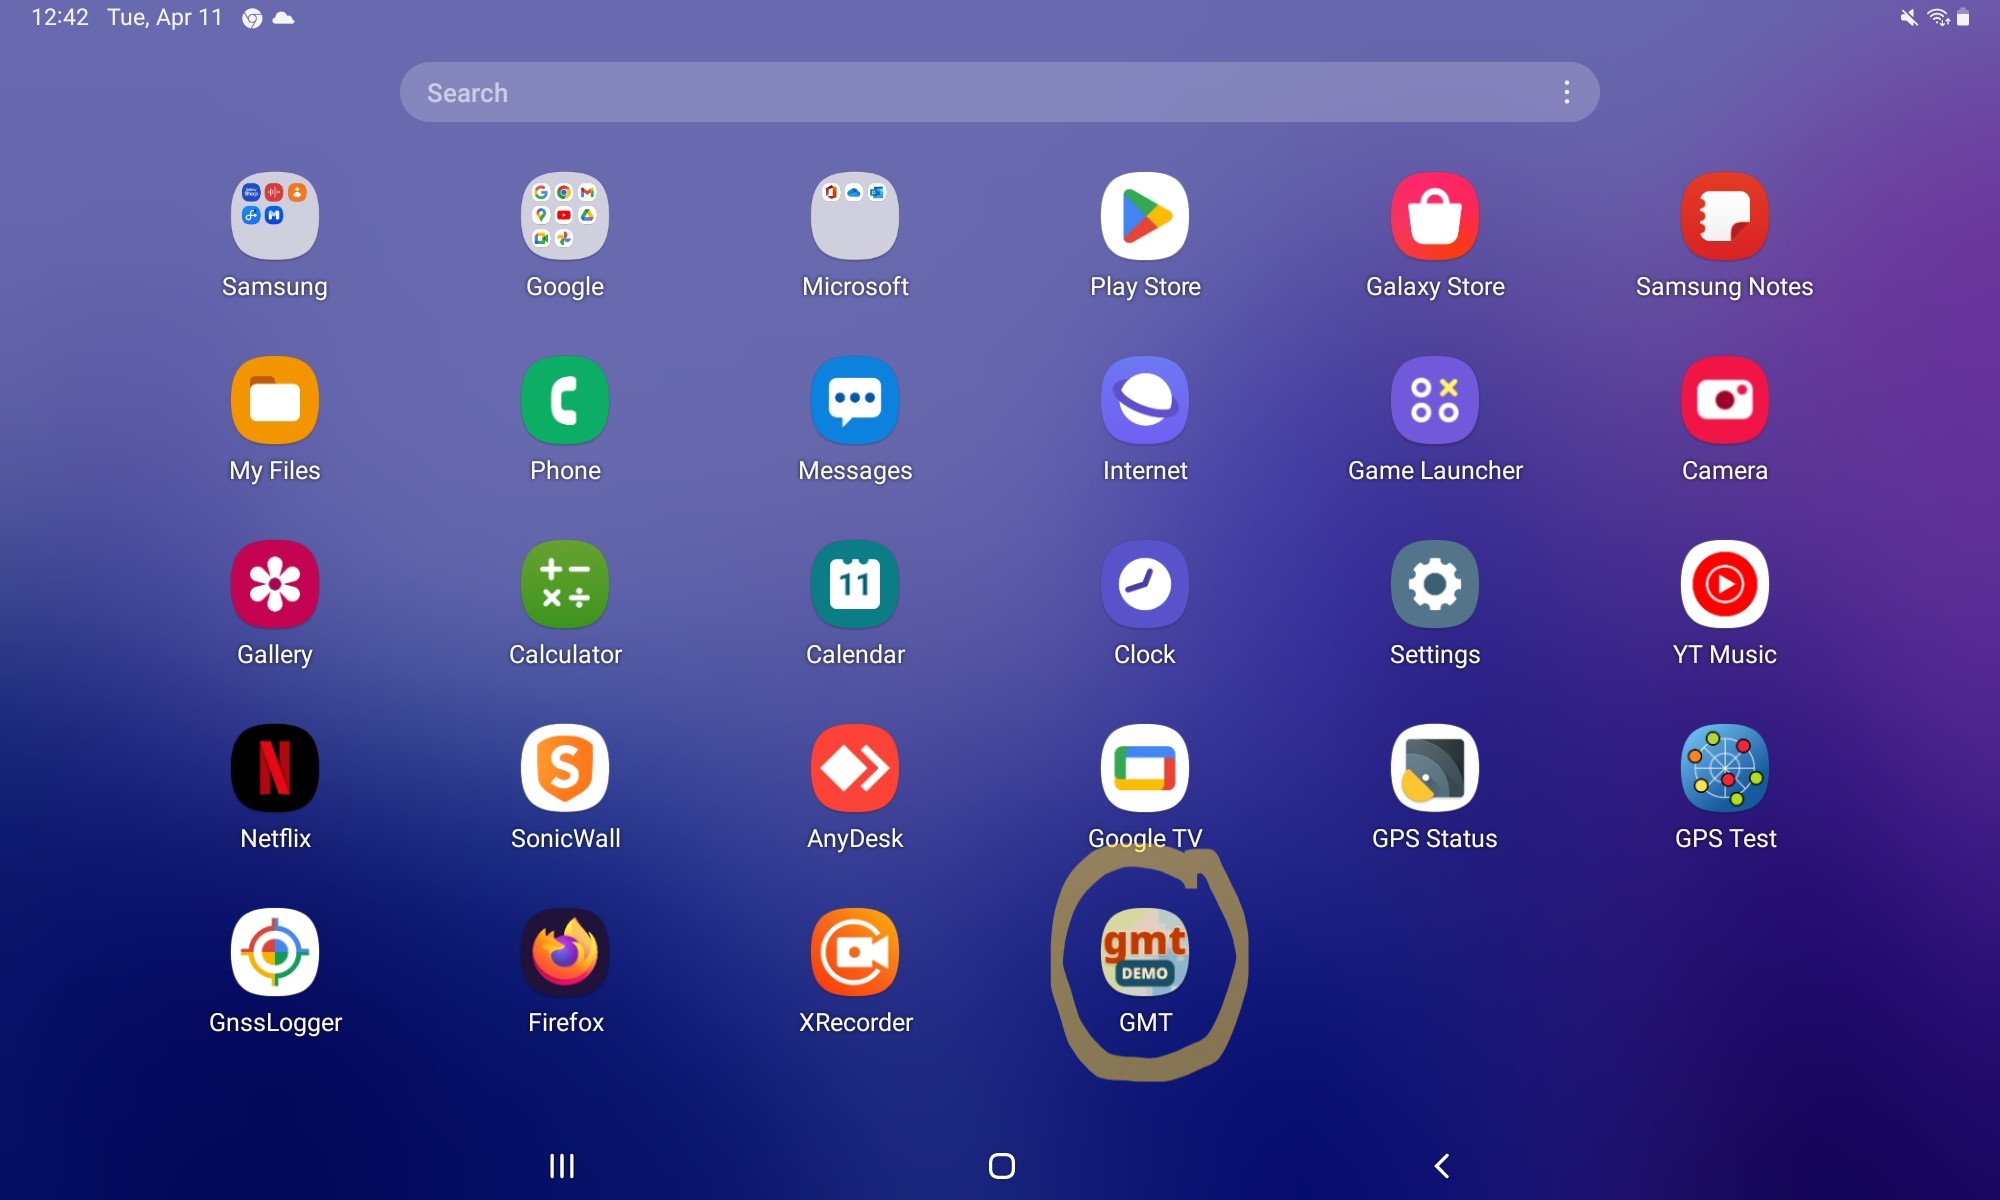
In either case, you should now see the app icon in your applications:
You can close Chrome and continue from the application. Make sure you have the right application installed. On a computer, this is the case if you can see a blue ribbon at the top of the app:
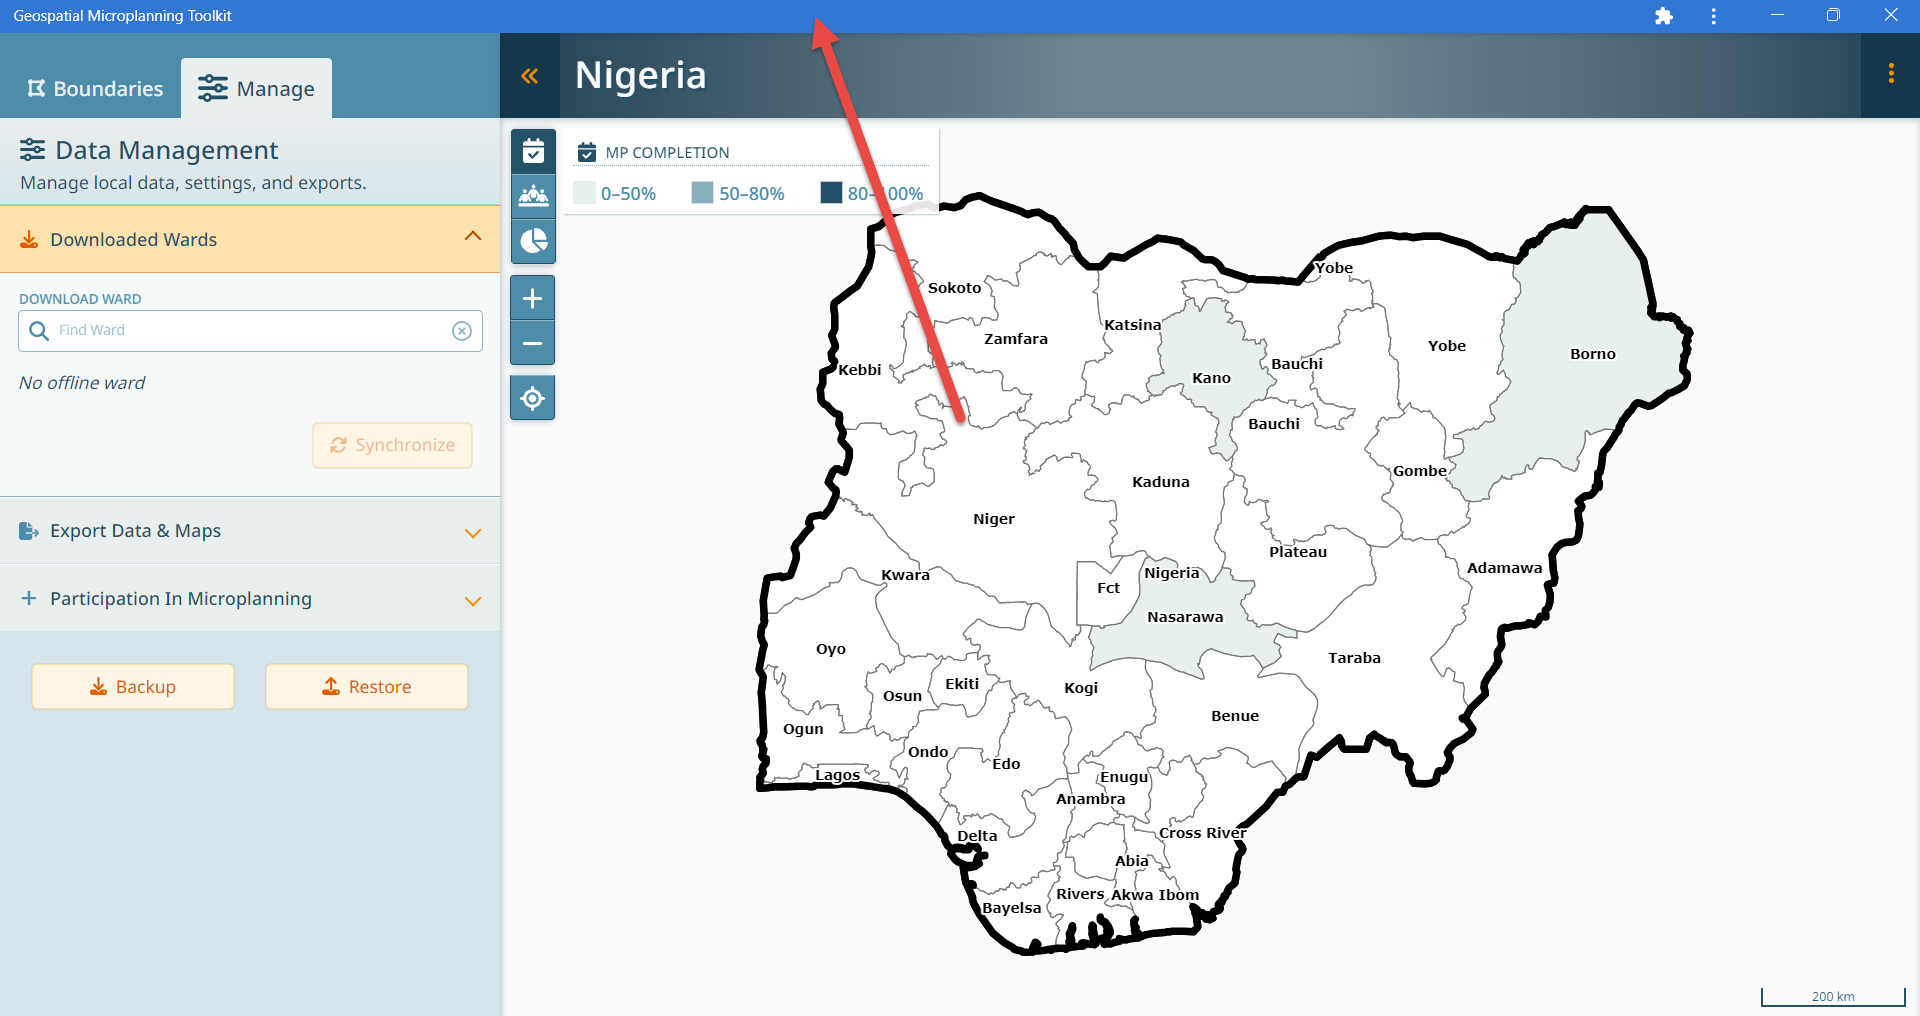
On a tablet, you should no longer see an input field at the top.
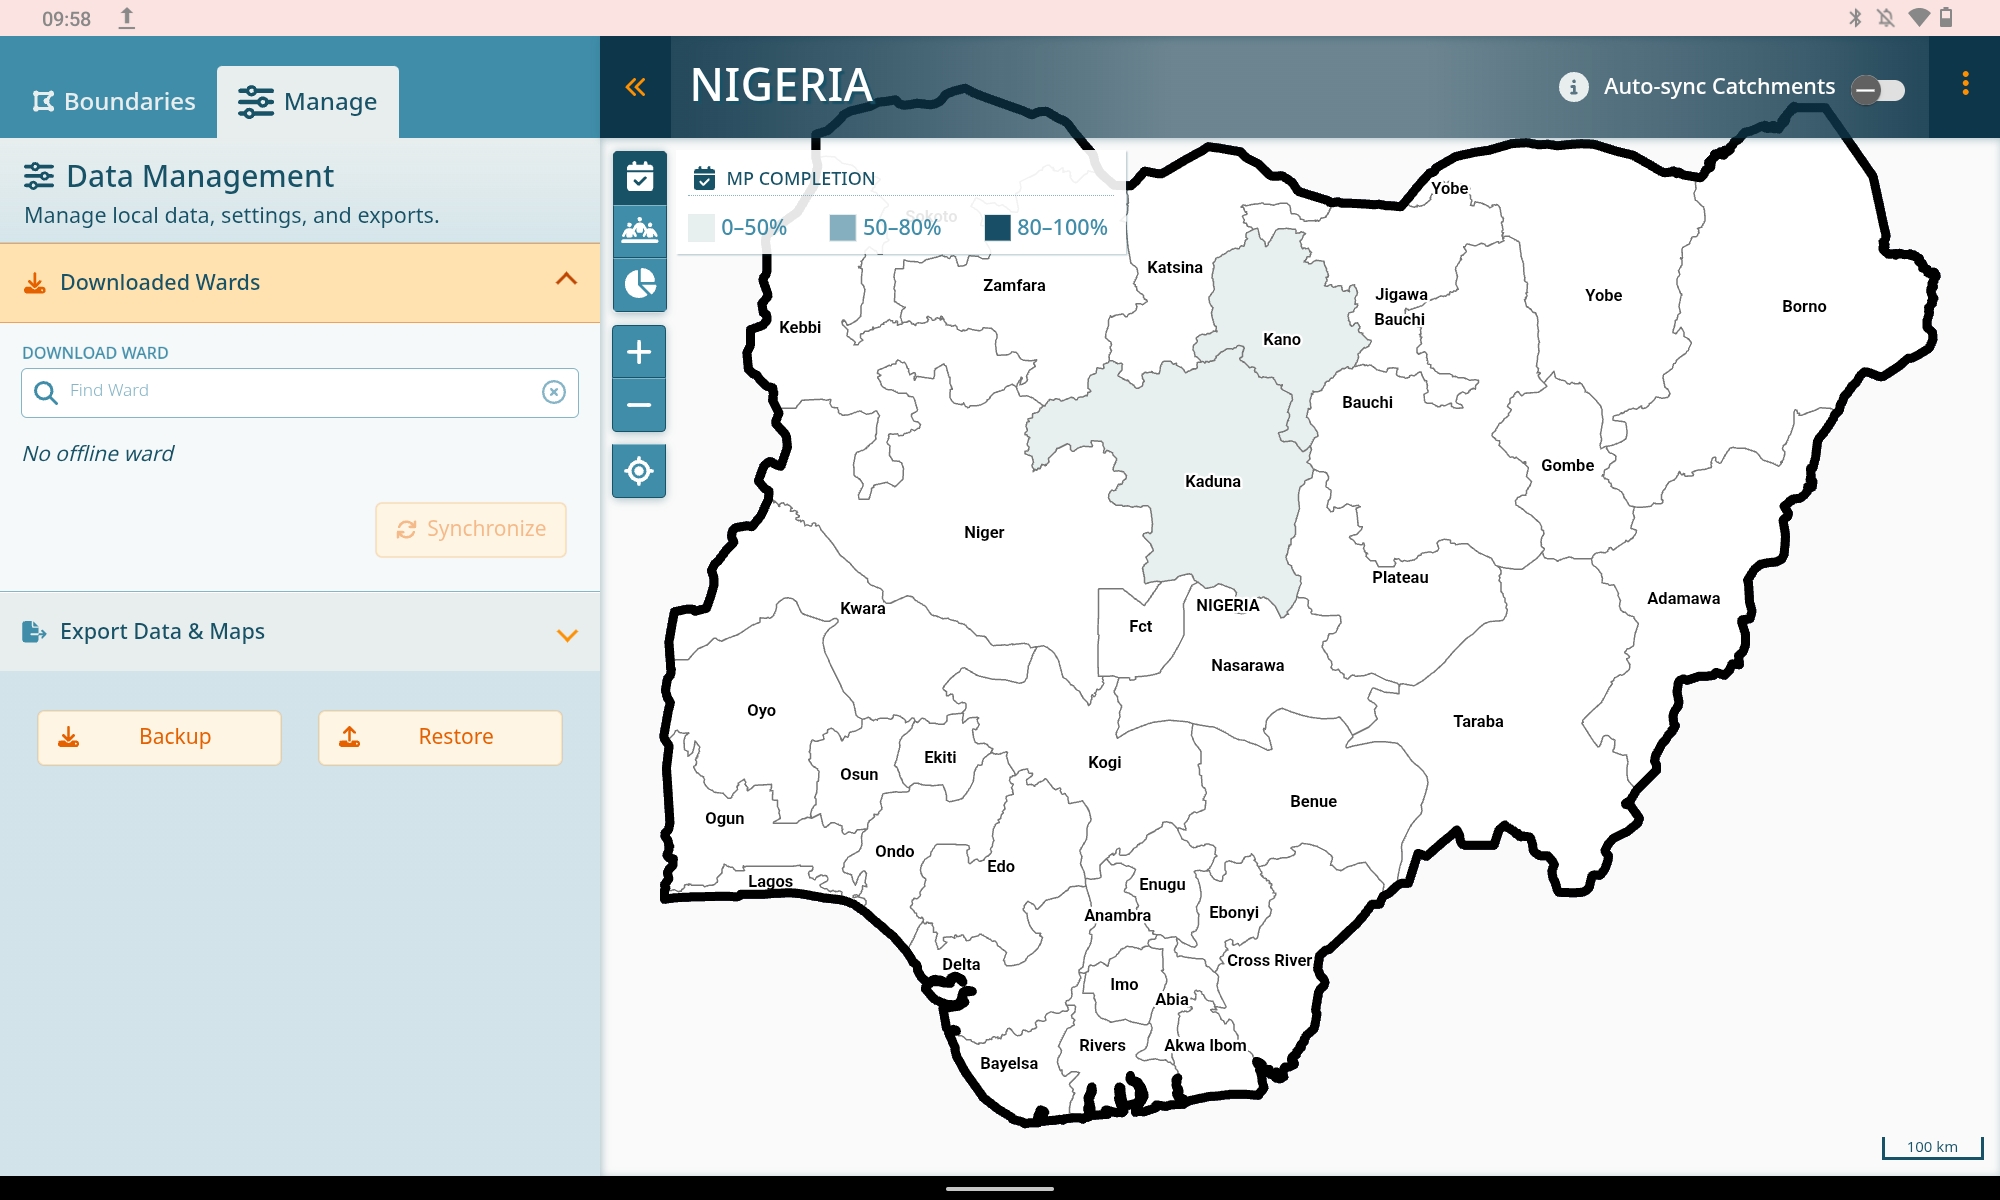
You should see this:
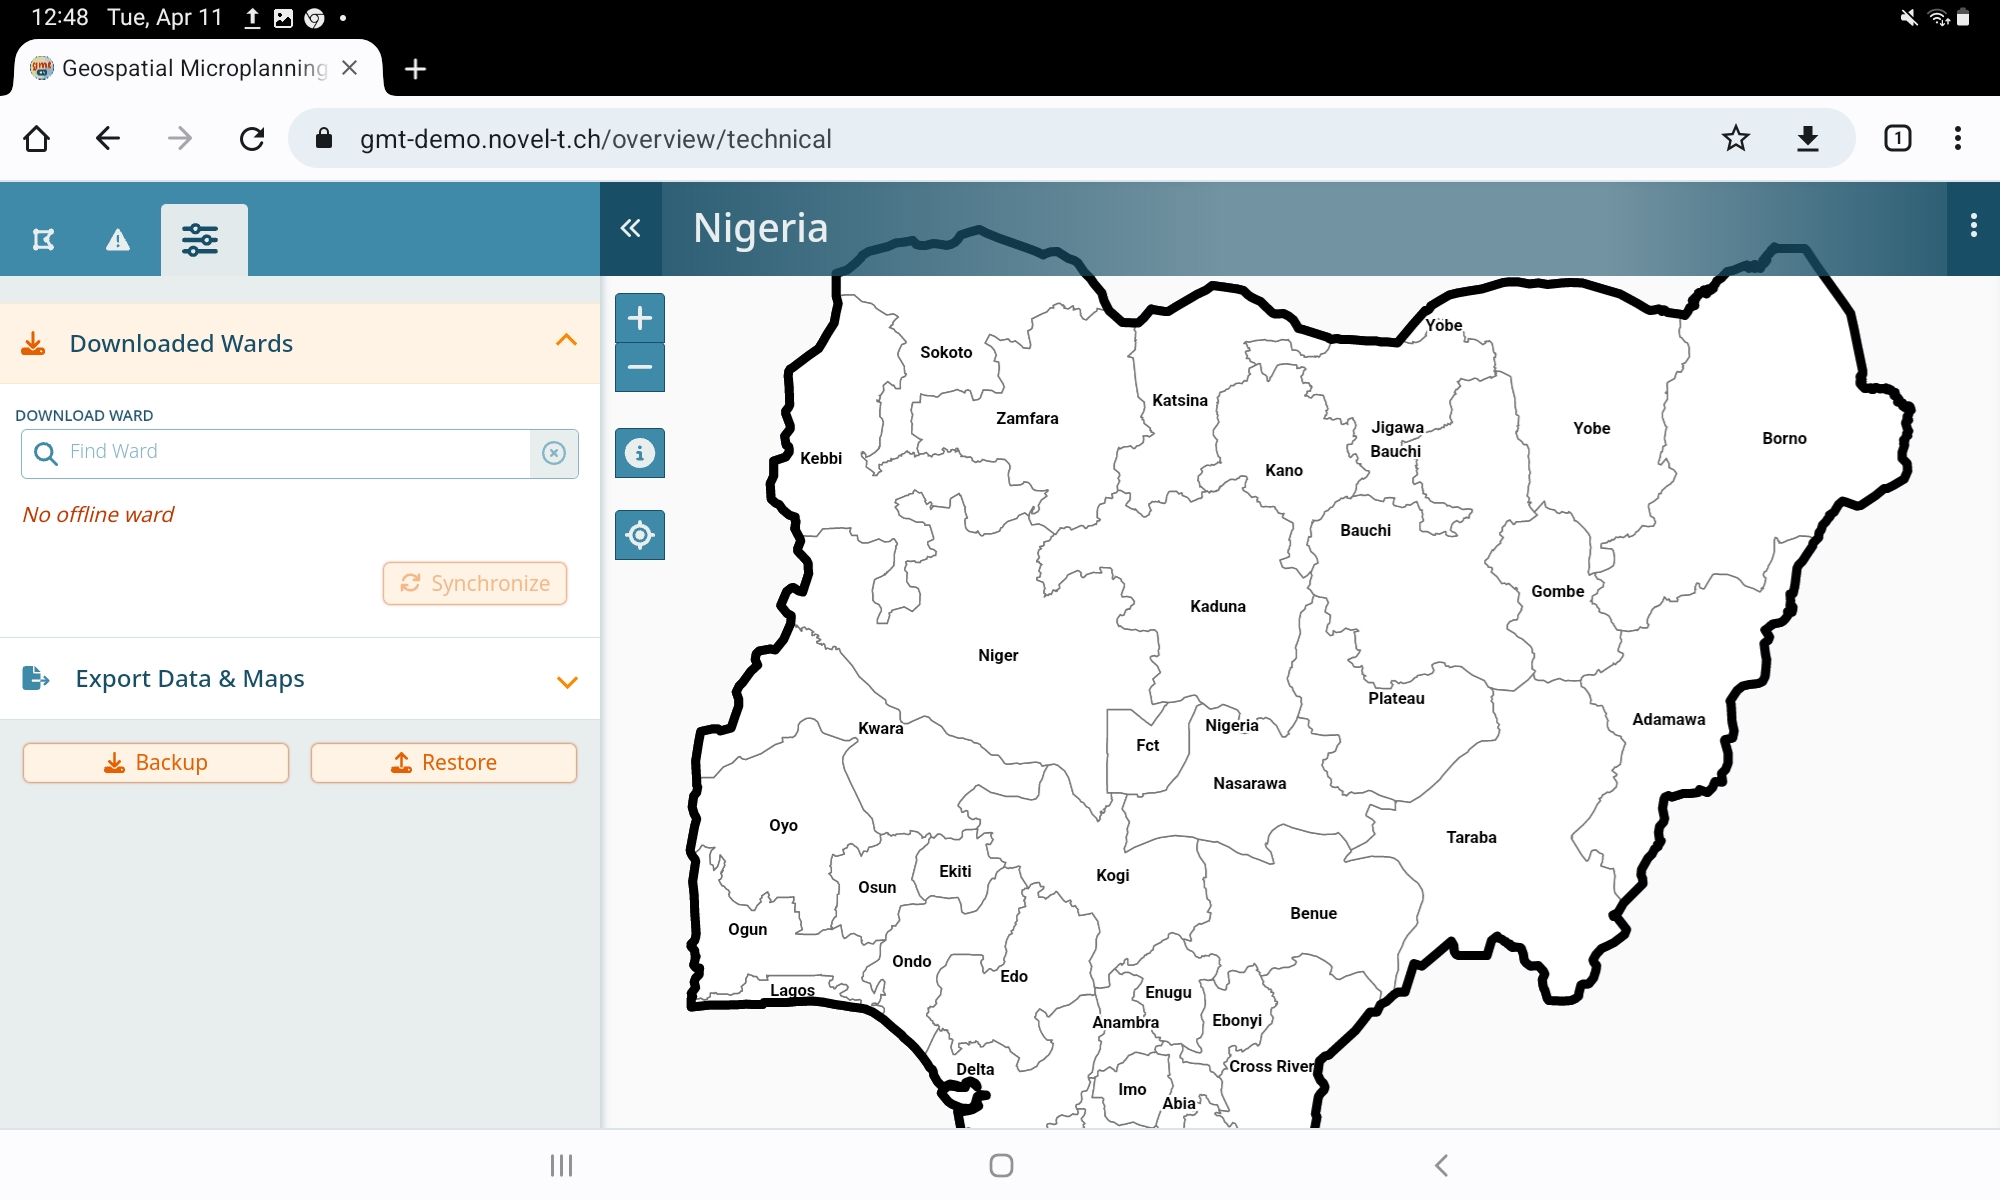
Not this!
In the app, click on the menu for the help:
You should be redirected to the help now and once you are offline, you will have access to this documentation as well.
1.4. Identifying and Downloading a Selected Area of Interest
Selecting the ward of interest is the first step in preparing a dataset to be viewed, managed, or exported from the GMT. Whether you are choosing a ward as a focal person or a participant, your designated ward should be your primary region of interest.
1.4.1. Download Process
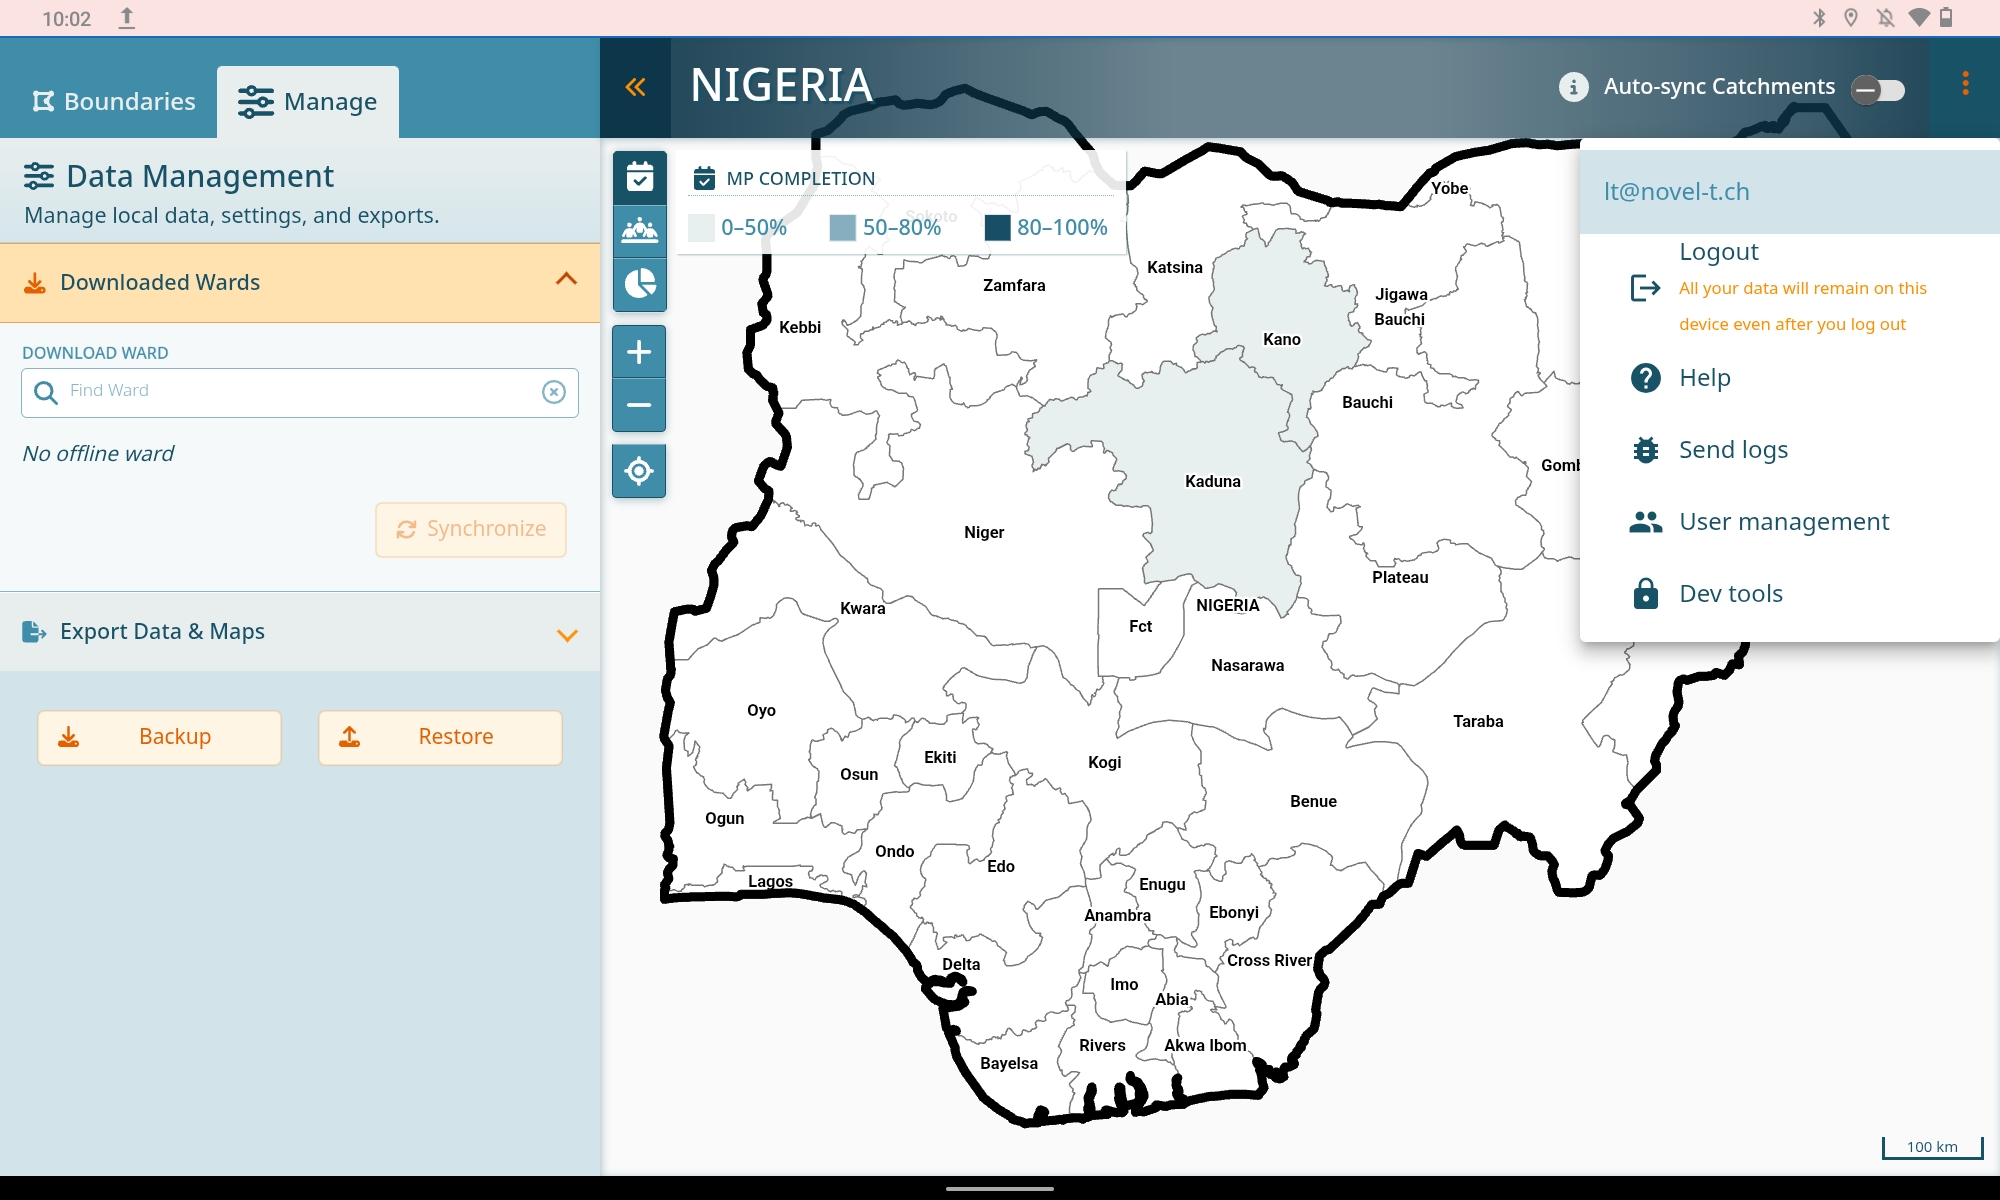
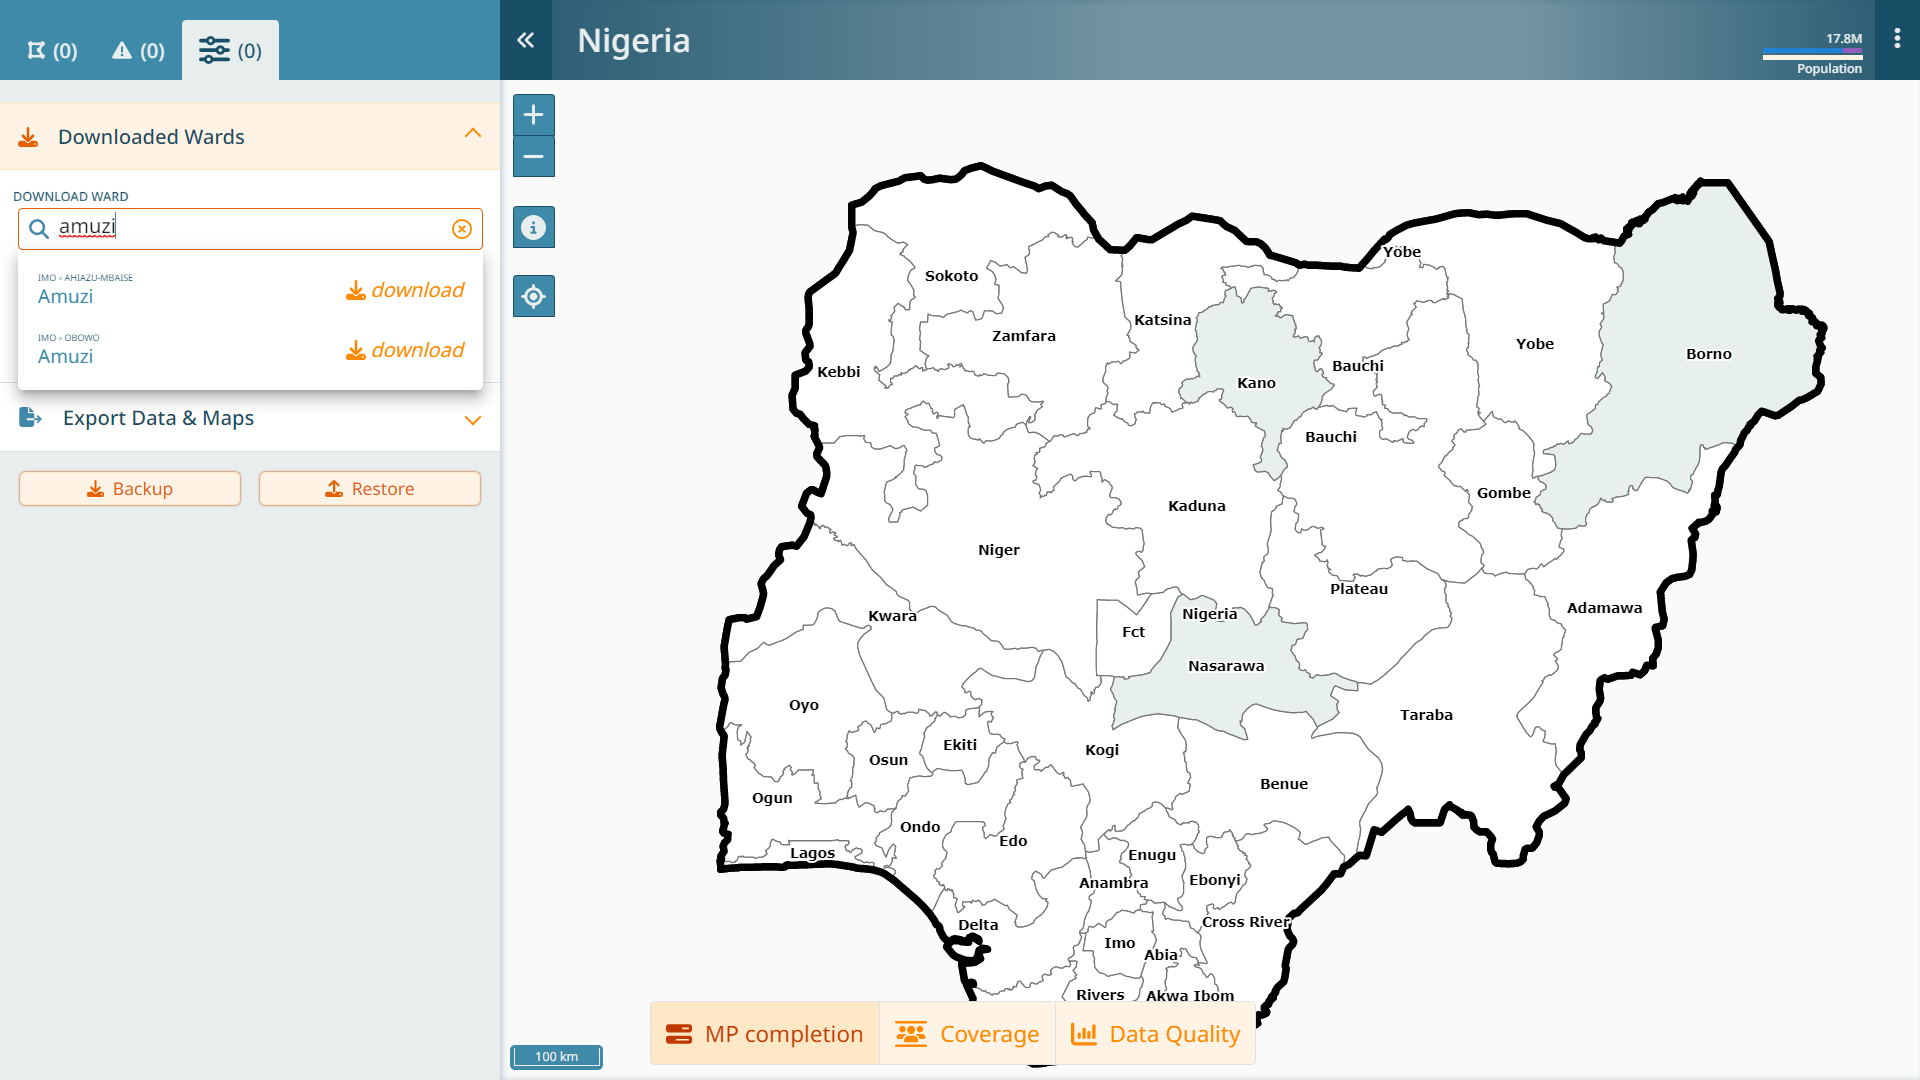
To download the ward of interest, click on the Manage tab at the top of the navigation panel. This tab allows you to access the data management tools for managing local data, settings, and exporting microplan maps and tables.
Expand the Downloaded Wards tab to reveal the Download Ward textbox.
Enter the name of the ward; for example, type in “Amuzi”.
A dropdown menu will appear, displaying the name of the ward, the Local Government Area (LGA), and the state to which it belongs. Verify that this information aligns with the exact ward, LGA, and state you expected to see.
Once you are happy with the selection, click the download button. This action will initiate the download process for the selected ward.
Once the selected ward has been downloaded, it will appear underneath the download ward textbox. The data and map layers for this ward are now available for you to work with offline.

Warning
Any other wards you may have previously downloaded will also appear in this list. Having several wards downloaded at once may affect performance. It is recommended that you limit the number of wards checked out at once by removing offline data for boundaries that are no longer used.
1.5. General UI Overview
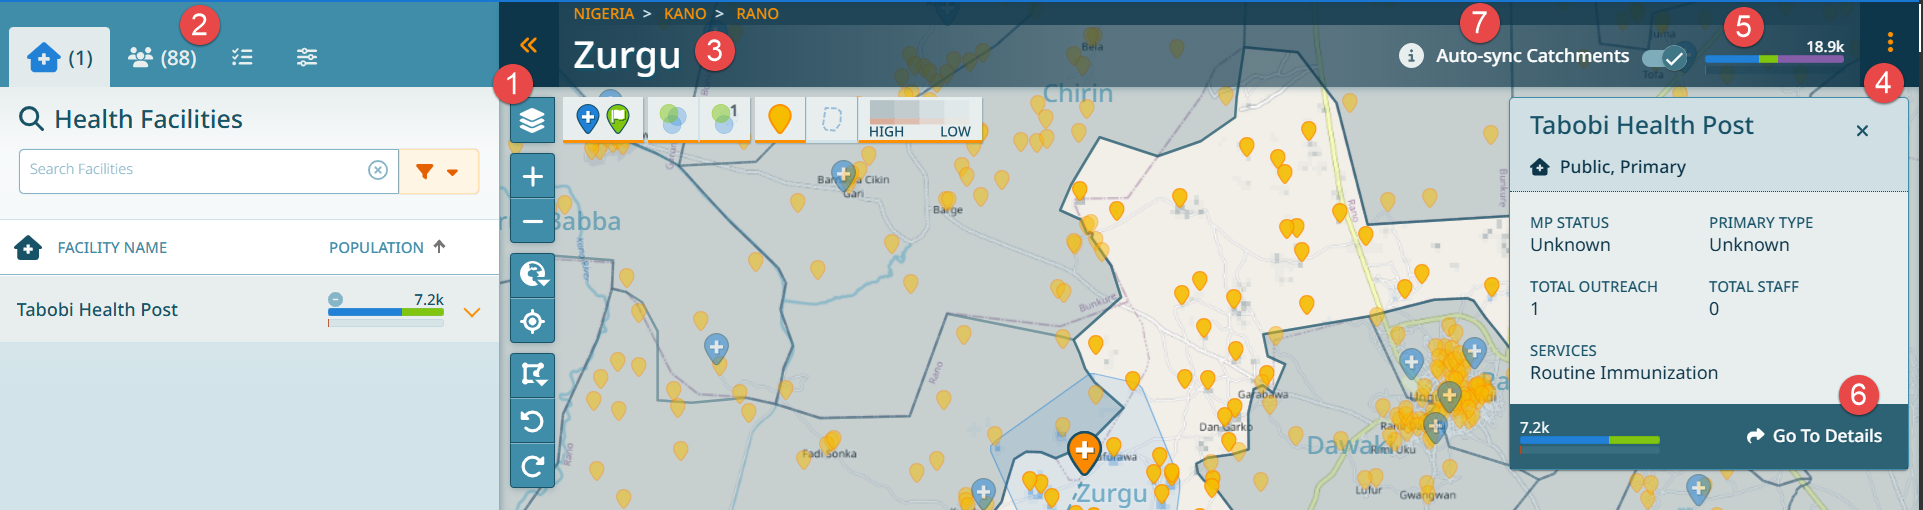
There are few key things on the interface to note:
The interface is divided into the map and a left side bar. The left side bar can always be collapsed by clicking on the arrows next to the ward name.
The left sidebar has four tabs: the health facility tab, the settlement tab, the attention/ToDo tab and the manage tab.
The header shows which ward you are in and it allows you to navigate back to the dashboard, if needed.
The header has a 3-dotted menu, where your email address is shown as well as a link to the help, a logout and some technical buttons to send logs.
The header shows the population of the current ward along with a colored bar. We’ll cover the colors later.
When clicking on an icon on the map, a popup allows to you navigate to the details of this item on the left side bar.
The header shows if auto-sync of catchments is toggled on or off. We’ll cover that later.
1.5.1. Auto-Sync Catchments
This functionality can significantly speed up the work you are doing.
Important
When modifying any health facility data, catchments are updated. Depending on the changes, this can take a significant amount of time. In order to not have to wait for these catchment updates, you can deactivate the auto-sync catchments toggle in the header. Doing this, will no longer update the cathments, unless you press the refresh button next to it. Note the exclamation mark next to the population bar, which is also indicative that the current status may not be up to date.
